Chef's notes:
If you are like me, the words Tatonka and buffalo conjure up images of Kevin Costner crawling around the ground with his jacket stuffed up the back of his shirt and making horns from his pointed fingers pawing at the earth. If not, then it should at least lead you to think of the western frontier. Buffalo was, and remains, a major symbol of the west. Along with gunfighters, cowboys, and Indians. The buffalo were the main source of food for all of the Native tribes living there, as well as the people that came to live there after driving the Native population out. The dessication of the buffalo herds was pivotal in getting the tribes of Native Americans to submit to white dominance.
Luckily, not all the buffalo were wiped out. In fact, many very large buffalo herds are alive and well today. They live primarily on ranches and are raised for meat like cattle. You should be able to find buffalo at the grocery store. Check the freezer section.
Ingredients
- 2# bison chuck roast
- Sea salt
- Black pepper
- 5 cloves garlic, minced
- 1 onion, sliced
Bison Roast: Minced Garlic, Sea Salt and Black Pepper then Roasted on top of Sliced Onion
- Prep the bison and preheat the oven. Preheat the oven to 500 degrees F and place the oven rack on the next to bottom position. Remove the meat from its packaging, and place it onto a clean surface. Apply the desired spices and rub them in really well. Make sure you wash your hands after touching the meat. Place the meat onto the roasting pan., fatty side up. If you don’t have a pan with a rack., you can use sliced onions on the floor of a cake pan to keep the roast elevated.
- Dry-searing the meat. Once the oven is up to temp, put the roast in and close the door. Set a timer for 20–30 minutes. This will give you time to prep the accompanying side dishes. The initial roasting time at 500 is going to depend on two things: how large is your roast, and how do you like your meat cooked? The larger it is, the more initial high heat you will want to apply. If you want your meat on the rarer side, you will have more high heat initially and less of the next step.
- The long roast. After 20–30 minutes, the meat should be a little crispy and some of the fats are converting to sugars (caramelization). Now you take it out and lower the temp to 350 degrees F. The outside is well on its way to yummyville. Now we turn our focus to the inside. One way to ensure that we get the inside done to your preference is to purchase a digital read-out thermometer with a detachable probe. This setup comes with an adjustable temperature alarm that will tell you when the desired internal temp has been reached. Pretty savvy, huh? For rare meat, the inside should be around 120–125 degrees. Medium is 140–150 degrees, and well done is around 160–170 degrees. I hesitate to list generic cooking time/weight figures here, mostly because there are a lot of variables other than time and weight. Follow the process and use the internal temperatures as a guide.
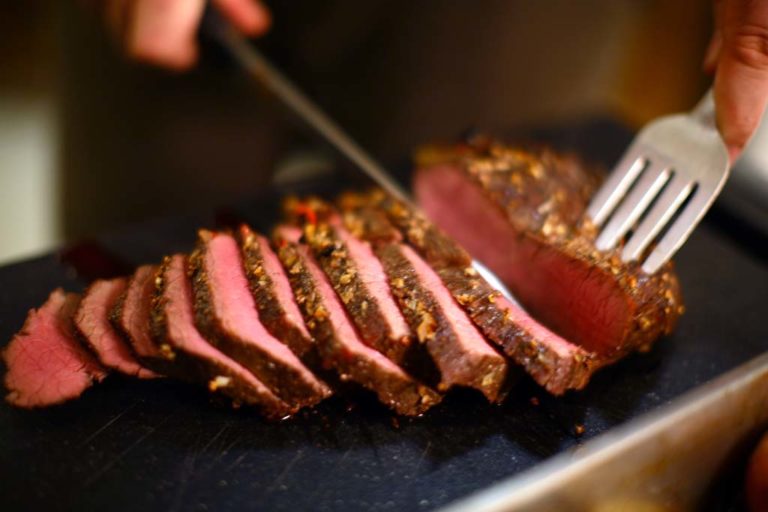
- Basically, that's it. When the inside of your meat reads the temp you want, remove it from the oven and just let the meat rest covered with foil for 15 minutes and then you can eat it. Resting is an important step, so don’t leave it out. No matter how hungry everyone is, cutting into the meat too early will drain it of most of its juices, resulting in a dry chewy clod of meat. When you do cut into that roast, make sure to cut nice thin slices across the grain. Doesn’t it look delicious? Enjoy.
Tips & Tricks
- All ovens are not created equal. That is why it’s important to also have a thermometer for your oven inside it at all times. Oven thermostats are not to be trusted!
- When I get a nice big chunk of raw meat out of the refrigerator, I spend a good 5 seconds wondering about cross-contamination. Plastic cutting boards are the best, but if you absolutely must use a wood cutting board, here is what you must do. First option: wrap the board in plastic wrap. This is not 100%, but it manages to keep most of the ickies off the wood. The next idea is more of preventative maintenance. When you finish scrubbing the board with soap and water and you have rinsed and dried it, try rubbing some salt on the board. This is an old trick. It will kill anything left on the board, and it also works as an abrasive to further clean the board. I do this to my Mom’s chopping block when I am home, and you would be amazed at some of the things that come off of that thing.
