Chef's notes:
Bison is perhaps one of my favorite meats (you can get it in bulk here). But I’ll always be a beef guy. This is probably because growing up, it was one of the few animals I didn’t have to personally kill before eating it. Yup, I’m one of those “old-fashioned” people. Bison does remind me a lot of beef – similar flavor, bone and muscle structure. But to me bison is like an exotic version of beef. It used to be that you only found bison when traveling out to west. Then a couple years ago a friend of mine started buying bison meat from a local rancher. Last year I spotted it in the freezer section of my co-op, and now this year I can finally purchase fresh, awesome-looking bison meat from a grocery store.
Ingredients
- 2 bison ribeye
- Sea salt
- Black pepper
- Unsalted butter
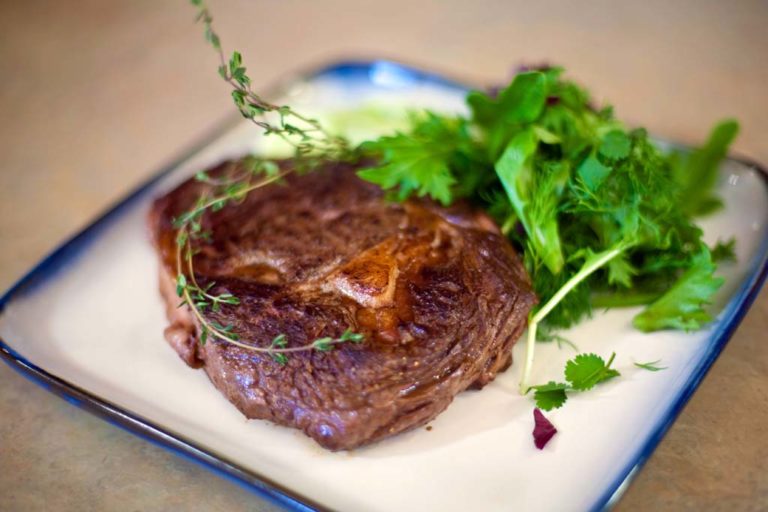
Pan-Fried Bison Rib Eye Steak: Sea Salt and Black Pepper and Served with a Knob of Butter
- Find some buffalo/bison steaks. If you are unable to find bison ribeyes, another bison steak may be substituted. Or, as a last resort, beef steaks may be used. These steaks are cut about 1½ inches thick. Thick steaks are always preferred since it is more difficult to overcook a thick steak but not impossible to do so. Season the steaks with sea salt and fresh cracked black pepper (really good whole peppercorns here). Rub the seasoning in with your hands. Let the steaks sit for a few minutes.
- Heat up a frying pan on medium-high heat. This frying pan is a nonstick stainless from All-Clad. For steaks I prefer the nonstick unless I want to make a pan sauce in which case I would use a regular frying pan. I am using butter as a frying medium. I’m using about 2 tablespoons of it. Once the butter foams and subsides, put the steaks in the pan. Let the steak sit in the pan for 4–5 minutes before checking it. That is, of course, unless it is smoking and/or on fire.
- Check the bison steaks to see how they look. You want the crust to be thick and crispy looking. You also want to be caramelizing the hell out of that fat. Otherwise it won’t taste as good, and the connective tissue will be a little chewy. Look at the picture to the right. See how dark brown that is? You want to get it that color but not black. Black means it’s burnt. Flip them when they get to this point, which will take around 4–8 minutes. Then cook the other side the same way.
- Check the steaks to see how cooked they are. There are three ways to check a steak for doneness. The first is to cut it open and look. This will dry out the meat. The second is to take a temperature reading with a digital thermometer. And the third is to touch it with your finger and feel for firmness. I expand on the last two techniques below. My steaks were rare, so I mounted them with butter and finished them in the oven. Only 4 extra minutes in a 500ºF oven and the steaks went from rare to medium rare.
Tips & Tricks
- Use a digital thermometer to test the internal temperature of the steaks. For rare meat, look for 120–125ºF, medium is 140–150ºF, and well done is around 160–170ºF.
- The thumb-fat test. Hold your hand up, palm facing you. Now touch the tip of your thumb to the tip of your pointer finger, just so they are touching with just a little pressure. Now, with your other pointer finger, poke the meaty, muscly part (at the base) of your first hand’s thumb. That is what rare meat should feel like. And when you touch the tip of your thumb to the next finger, the middle finger, press that same place on your thumb again. That represents medium. As you progress down toward the pinky you will notice it begins to get very firm. The ring finger would be around medium-well, and the pinky would represent well done. As you cook meat, continue to practice this technique and eventually you will just know, like I do.
